How to Make a Wobble GIF with a Caption
By WobbleMint ·
You can make a captioned wobble GIF in one editing session: open a photo, choose the movement, add a short line, and export. This walkthrough follows the controls in WobbleMint, including the difference between whole-image motion and painted regions.
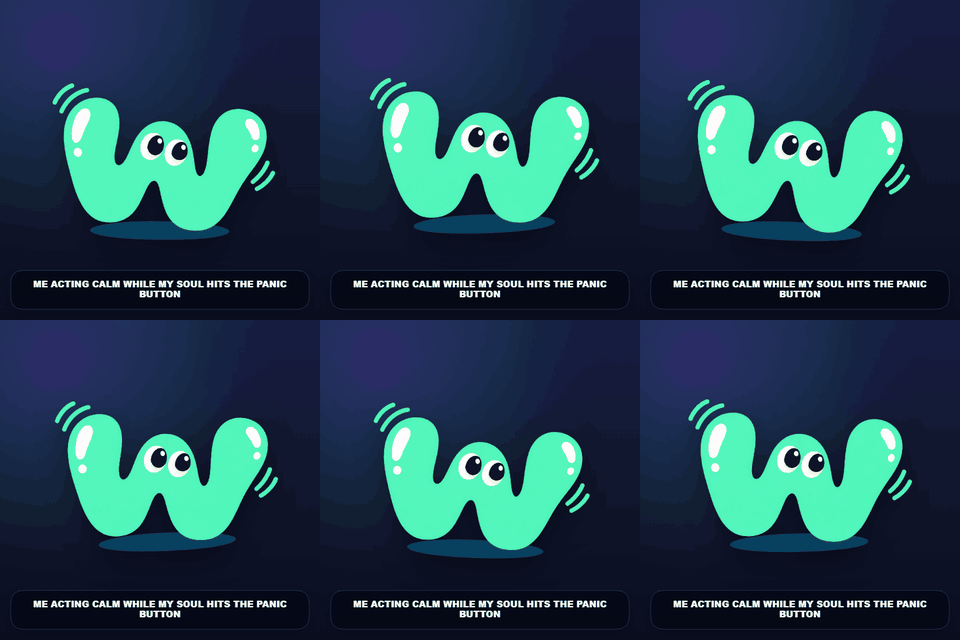
1. Start with a still photo and choose the frame
Open the editor and choose a PNG, JPEG, or WebP file. Square is a straightforward starting point for a reaction image. Portrait, Story, and Landscape change the output shape without changing the source photo.
Contain fits the photo inside the composition. Cover fills the composition and can crop the image at the edges. Leave space around the face or object: a whole-image bounce can push details past the frame. Zoom helps you find a comfortable balance.
2. Choose a whole-image preset or paint a region
For a quick reaction, stay in Whole image mode and select a preset. Start with Panic Bounce for nervous energy or Idol Float for a gentler motion. Play the preview before deciding how much movement you need.
For a flexible part of the image, switch to Paint regions. Brush over the part that should bend, use Eraser to remove unwanted coverage, then press Play. Jelly, Sway, and Pulse control the local movement. Each region has its own Amount, while speed is shared.
3. Write the caption in the same editor
Type a short caption and choose top or bottom placement. The size control sets a preferred size; longer text may be reduced so it fits. Keep an eye on whether the caption covers a face, hand, or other part of the joke.
A simple reaction format is a situation followed by the image: “when the meeting ends early” or “me checking one more notification.” The caption is included in the exported frames, so there is no separate text-editing step.
4. Export and check the downloaded loop
GIF output is limited to 480 pixels wide. For a larger video export, select Video instead; the browser chooses supported MP4 recording or a WebM fallback. The editor does not upload your image to perform either export.
- Choose Looping GIF in the export section. Start with Short or Medium export length.
- Open Advanced motion if you need to adjust Intensity, Speed, or Frames. Higher speed shortens the loop; more frames can make the file larger.
- Choose Export GIF and wait for frame rendering and encoding to finish. Use the download link if automatic downloading is turned off.
- Open the downloaded file and check the caption, edges, and transition back to the start. If a whole-image preset has a noticeable jump, try a gentler preset such as Idol Float. Painted-region motions return through a repeating cycle.